Testing API
POSTMAN allows you to call Worklio Embedded Payroll (WEP) API endpoints using different methods and parameters. You must have your API access token to test a WEP endpoint.
You request POSTMAN to initiate a valid WEP API call via the endpoint Uniform Resource Identifier (URI) and the appropriate method. However, an important feature that POSTMAN offers is the Collections feature. This feature allows you to group and organize the different requests you make.

1- Request call 2- Request body 3- Method 4- Request Header 5- Collections
Response codes
Response codes are a hallmark of testing APIs with POSTMAN. During your API testing, you will obtain different response codes that indicate different meanings for the test you initiated. Some of the most common response codes include:
- 100 series, which denotes temporal responses. For example, 102 Processing.
- 200 series indicates responses where the client accepts the request and the server, processes it successfully. For example, 200 OK.
- 300 series, which indicates responses related to URL redirection. For example, 301 moved permanently.
- 400 series, which indicates client error responses. For example, 400 Bad requests.
- 500 series, which indicates server error responses. For example, 500 internal server errors.

Importing WEP API with JSON link into POSTMAN
WEP JSON fileIf you are using POSTMAN for the first time, you can import our API into POSTMAN as a collection via https://api.worklio.com/swagger/v1/swagger.json. Be aware that our JSON files are split into different sections. This allows you to just import particular sections instead of the whole file or you can choose to import the whole JSON file into your POSTMAN workspace.
The link above allows you to import the whole JSON file into your POSTMAN workspace.
To import our API, please follow the following steps:
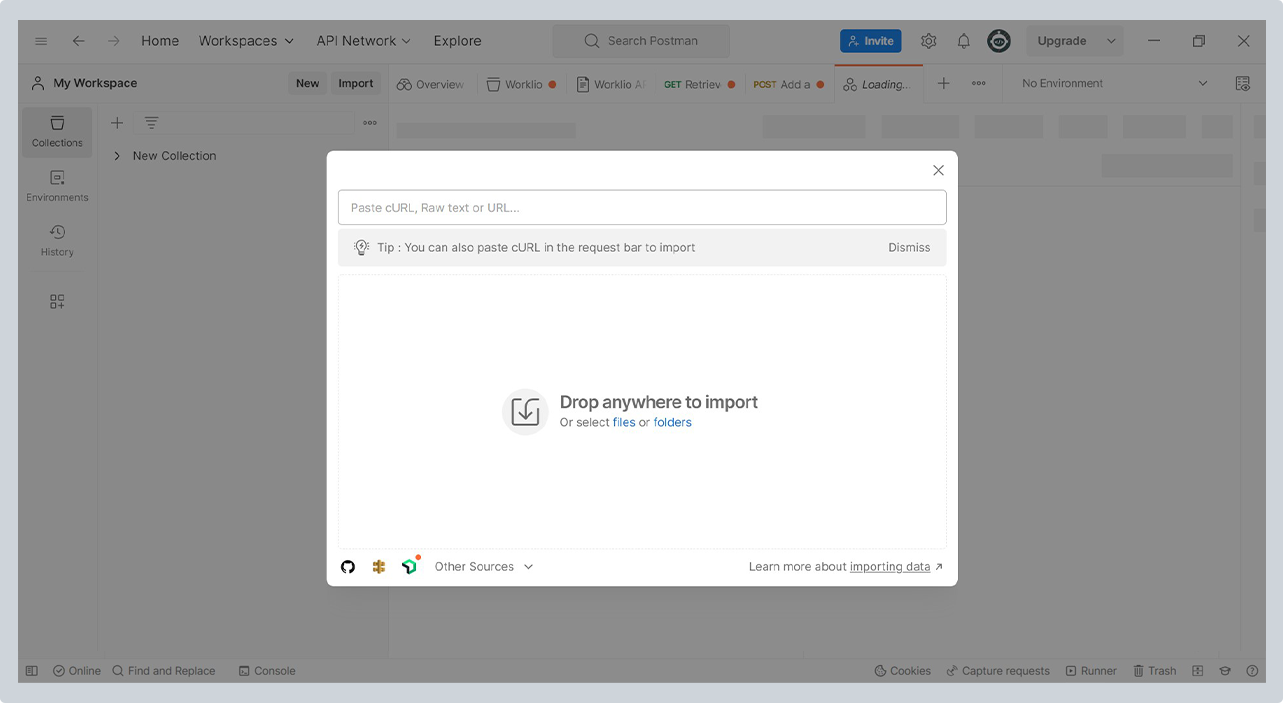
- On your workspace environment, click Import towards the top left-hand side of your screen.

- Clicking brings up a screen where you can select the option to import your APIs into POSTMAN. But for our API, you import via the JSON link from Swagger. Type in the JSON URI for our API in the field provided.
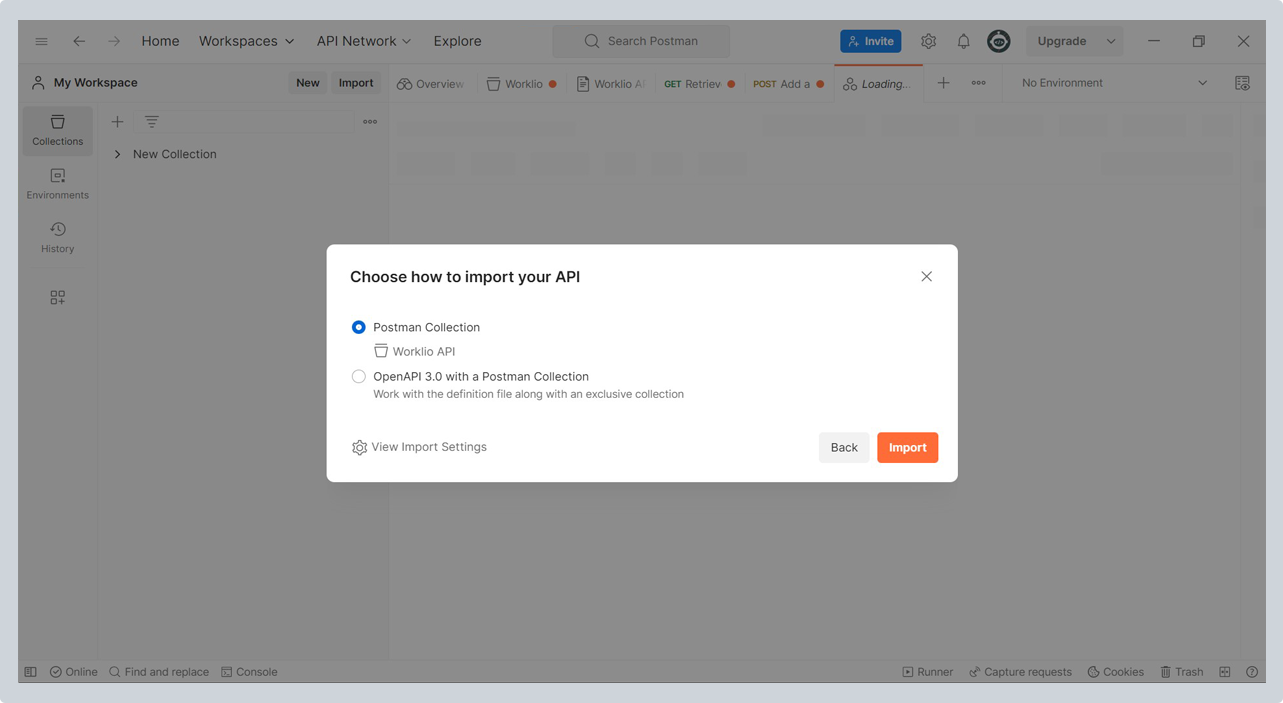
An intermediate screen shows you the elements of the API you want to import. Select any of the elements, then Proceed by clicking on Import.
- After a successful import, the page below appears on your screen. Incomplete Import could be a result of broken links or other technical errors.

Setting up authentication
WEP API employs an OpenID authentication that supports two oAuth 2.0 flows. To call our endpoints on POSTMAN, you need a level of authorization as an access token.
API accessRead more on how to get API access here.
To obtain this access code after importing the WEP API, follow the following steps:
- Click on the Authorization pane of the newly imported API collection. The next screen displays different parameters. Click on Type. A menu drop box appears, then select oAuth 2.0 as it is our API's flow.

- Fill in the required details (of any of the two oAuth flows), then click on Generate New Access Token.

- After the successful generation of the Access Token, the following screen pops up your newly generated token. Click Use Token to embed the token into your request header.

Calling endpoints directly from the imported collection
After successfully importing our API and obtaining your access token, you can call endpoints and make requests now from the imported collection. To do this, you:
- Navigate to the imported API collection and find the endpoint you want to call. For example, you can call the endpoint that helps you retrieve the current user information using the endpoint URI, as seen here.

- Select the endpoint you want to call and click on Send in the resulting window. A successful call returns the 200 OK response code, as seen below.

You can also create and add a new employee for your company by calling the endpoint directly from the API collection you imported. Find and select the endpoint in the collection. Click the Body pane to fill in the employee's details in the resulting screen. Then, click Send to call the endpoint.
Create EmployeeRefer to create employee to know the required employee details.

Using POSTMAN for WEP testing
WEP testing helps you perform assertions and validations for the response you receive from the requests you made. These tests help you verify successful or failed statuses, compare expected results, and ensure that changes to your APIs don't affect their functionality.
To test our API, you write test scripts with JavaScript for your requests. For example, you can write a test script to validate the status of a WEP endpoint by sending a request with appropriate parameters.
You add code or snippets to your request that you can change to suit your test logic. Open your request, then enter your code or use the snippet code in the Tests tab of your workspace environment.
The test code executes after you run your request; the output is in your response's Test Results tab. Remember, you can perform different tests on our APIs using the snippet codes or manually.
STEP 1: Make an endpoint request.
Switch to the Tests tab. You will find Snippet codes on the right side, which will auto-populate the test pane, or you can input the test codes manually in the Tests pane.

STEP 2: Click Send to run your request. The Test Results tab then displays the test result. The tab header indicates the number of tests that passed or failed and how many you ran.

To carry out another test on your request, return to the Test tab to add another test. Repeat the steps from earlier depending on the test you want to perform on your requests.
As stated earlier, you can write your test scripts manually in the tests tab instead of using the pre-configured code snippets. The following object-oriented JavaScript code helps you test WEP manually:
- pm.test method defines your test by providing a name and function that returns a Boolean value. This method always begins a test in POSTMAN.
- pm.expect examines your test's response detail by giving your result messages in a different format.
- pm.response function validates the data returned by your request.
You create this object by defining a Javascript variable, after which you initialize it using a POSTMAN method that holds the response. You then call the JSON function. The object you just created will receive the response in the JSON format., thus helping you get the data you want to test in the form you want.

Furthermore, you can add a test script to a collection. It will run after every request in the collection. You add a collection test script when you first create the collection and can edit it by:
- opening the view more actions icon beside the collection name.
- selecting Edit.
- choosing the Tests tab to add or update the test script.
POSTMAN COLLECTION USAGE
You can see a cover usage of the Postman collection here:
Updated 10 months ago